Balance Statement - Design
Print
Modified on: Thu, 11 Nov, 2021 at 4:43 PM
| The Balance Statement Design page is where you build, store, and load your customized balance statements and consists of five parts/pages: Settings, Selection, Content, Preview and Schedule. |
TABLE OF CONTENTS
-> Go To: Point of Sale > REPORTS > Customer Balance Statement > Balance Statement - Design
Designing a Balance Statement
SETTINGS
To edit a previously created definition, select your saved Balance Statement from the list on the left and click the Edit button. When done editing, click the Save Settings button. |
To create a New Balance Statement definition, click the Add button at the bottom of the page. This will allow you to define values for the provided criteria on the Settings page. |
You may save your Settings at any point by using the Save Settings button or click Cancel to close your design definition without saving. |
When your Balance Statement Settings are completed, you are ready to move on in your Design Definition. Click the Next Step button at the bottom of the page to save your changes and move on to the Design Selection page. |
| Note! If you are using Office 365, you may be required to use a specific email address. A MealTime technician can help you test your settings and identify any unique requirements your email system may have. |
SELECTION
With your balance statement settings completed, the next step is to define who will be selected to receive a balance statement. You may choose any or all the basic balance types, Positive, Zero and Negative, or you can set a balance range to report on. |
| Use the provided filters to narrow down by the customers' Enrollment Status, School, Homeroom, Track and Grade. |
Finally, select the individual Price Groups or Eligibility groups to limit your Balance Statement to the desired audience. |
Use the Next Step button to move to the Content portion of the statement. |
CONTENT
| With the Selection portion of the design complete, you can decide what information you want to include in your statement. |
| The MealTime application provides default templates for both 1 Per Page and 3 Per Page statements, in both English and Spanish. |
| You can use the Parameters on the left-hand side of the page to insert merge fields in the 1 Per Page format. |
| The 3 Per Page format contains the same level of details as the 1 Per Page format, but with minor room for customization of the message. You can enter up to 400 characters of text in this format. |
| Note! Modifying the content of balance statements using Parameters can cause issues with your statements if not done correctly. Please reach out to a MealTime Support Technician for assistance with this process. |
Note! In the rare case that you want to add specific information to a statement and MealTime does not have a Parameter option to provide that information, you can hard code anything into the Letter when using the "one per page" option. Open the letter in the design stage, type in the information you want to add and Save & Exit or continue to step 4. |
| Once you're satisfied with the Content of your Balance Statement design, use the Next Step button to save your settings and move to the Preview page. |
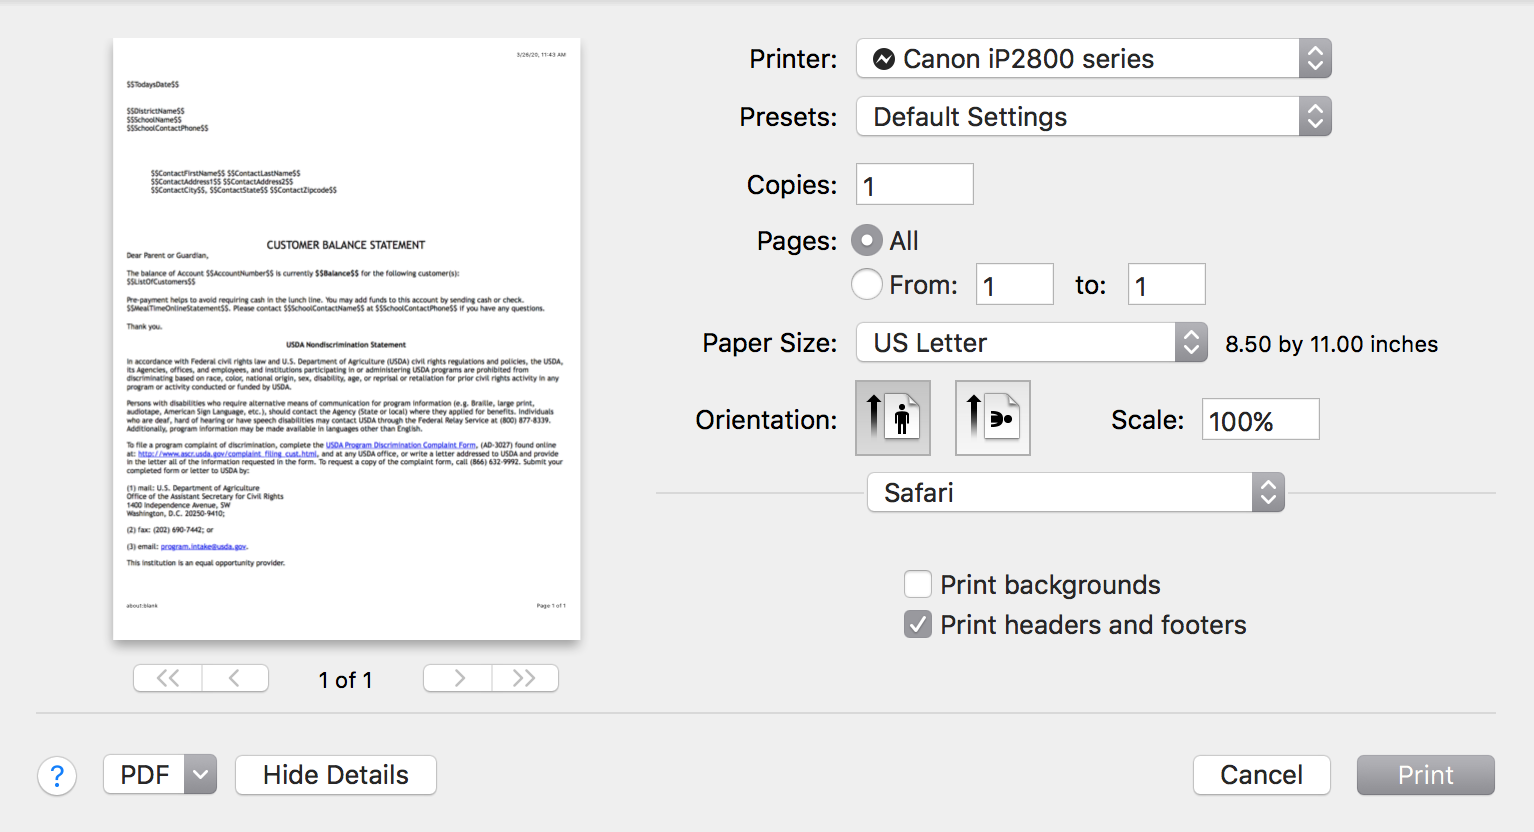
PREVIEW
The Preview page allows you to preview and/or print a copy of your Balance Statement, in both English and Spanish, to ensure it meets your needs.
You can return to the previous page using the Previous Step button if you need additional editing.
|  |
| When satisfied with your Balance Statement Design after previewing and/or printing it, use the Next Step button to save your settings and move to the Schedule page. |
SCHEDULE
| The Schedule page allows you to set up a Schedule for generating balance Statements automatically. You can also choose No Schedule to generate the statements Manually. Use the Radio button to make a selection. |
| If choosing Schedule, select when you would like your schedule to run using the provided options. |
| Click the Finish button to complete your design. You will be asked whether you want to go Back to Design to edit your balance Statement or On to Execute your new statement. |
|
| |
Did you find it helpful?
Yes
No
Send feedback Sorry we couldn't be helpful. Help us improve this article with your feedback.


